Introduction
Using a new operating system can be a daunting prospect but once you’ve learned the basics of how to use Ubuntu you’ll quickly discover its potential to allow you to go about your tasks with ease.
From the Top
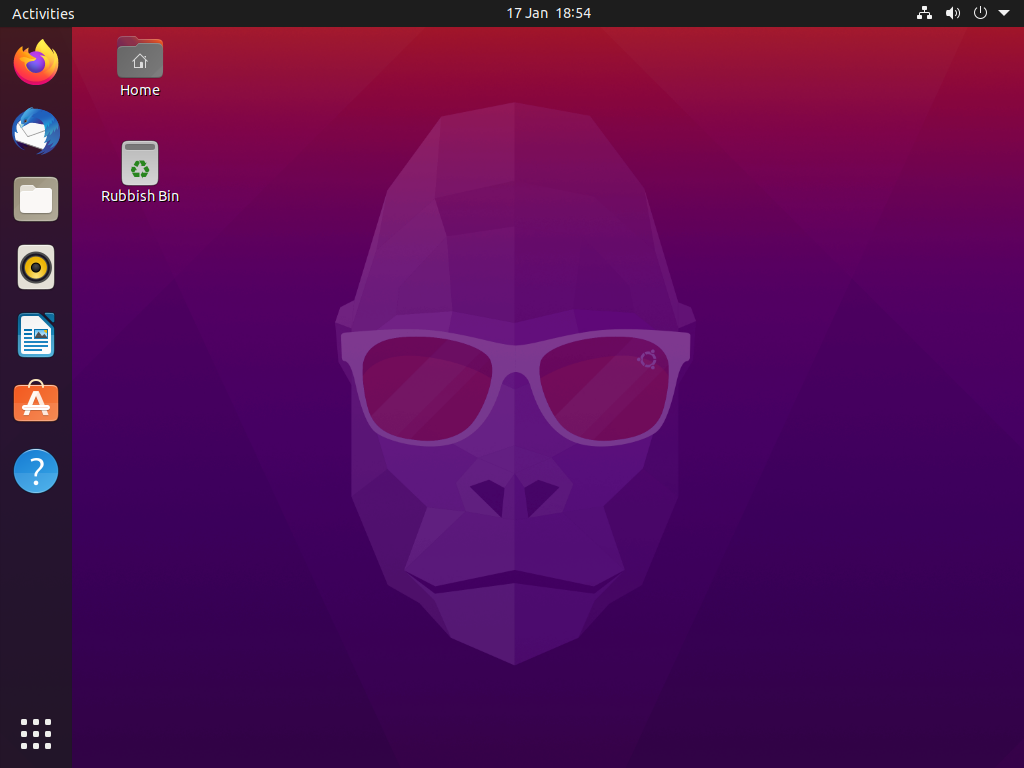
This is the Ubuntu desktop and what you’ll be greeted with once you’ve logged on. From this screen you’ll be able to get to anything you need.
The top bar is the bar along the top of the screen.
The Activities button on the top-left allows you to visually switch between open windows.
The middle section with the time and date allows you to access the notifications and a calendar, and if you configure their respective apps, it can also show upcoming events and reminders, the weather, world clocks and a whole host of things.
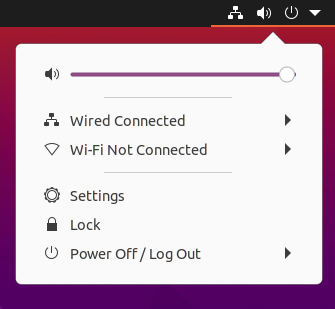
On the right-hand side of the top bar, you’ll notice some icons. This is the system menu. This is a quick and handy menu that you’ll need to use to change a whole host of system-related settings such as your screen’s brightness, the audio volume, WiFi, Bluetooth, locking the screen, system settings, logging off, shutting down, restarting etc. It’s well worth familiarising yourself with this menu by exploring each of the items in it.
Note: A handy tip with the volume icon in the top bar is that you can alter the volume by hovering over it with your cursor and scrolling up or down with your touchpad or mouse. Go ahead and give it a try!
Let’s Get You Connected to The Internet
If you’re using a laptop or a desktop with built-in WiFi, chances are that you’ll need to connect to your WiFi network before you can use the internet. If your system is plugged into your router using an Ethernet connection it should just work with no further action required (so if it’s not working, probably best to check your cable is plugged in properly on both ends!)
To connect to a WiFi network, you can do the following:
- Click the system menu in the top-right corner of the screen to manage your system settings and your computer. The system menu is the section with the small icons in the corner, if you’re unsure. A drop-down will appear with a selection of options.
- Select the WiFi section.
- If you’re not connected to a WiFi network already, you can click on “Select Network” in order to select your WiFi network and then enter its password.
- If you’ve entered the password correctly, you’ll see that there’s no a WiFi icon showing a signal strength in the icons on the top bar. Congratulations, you’re now connected to your WiFi connection and can start doing things online!
Getting Things Done
Along the left of the screen you’ll notice there’s some icons. This is where you can access the apps that are installed on your computer. Any apps which are already opened will show a handy little dot next to them, as you’ll notice once you have one opened up.
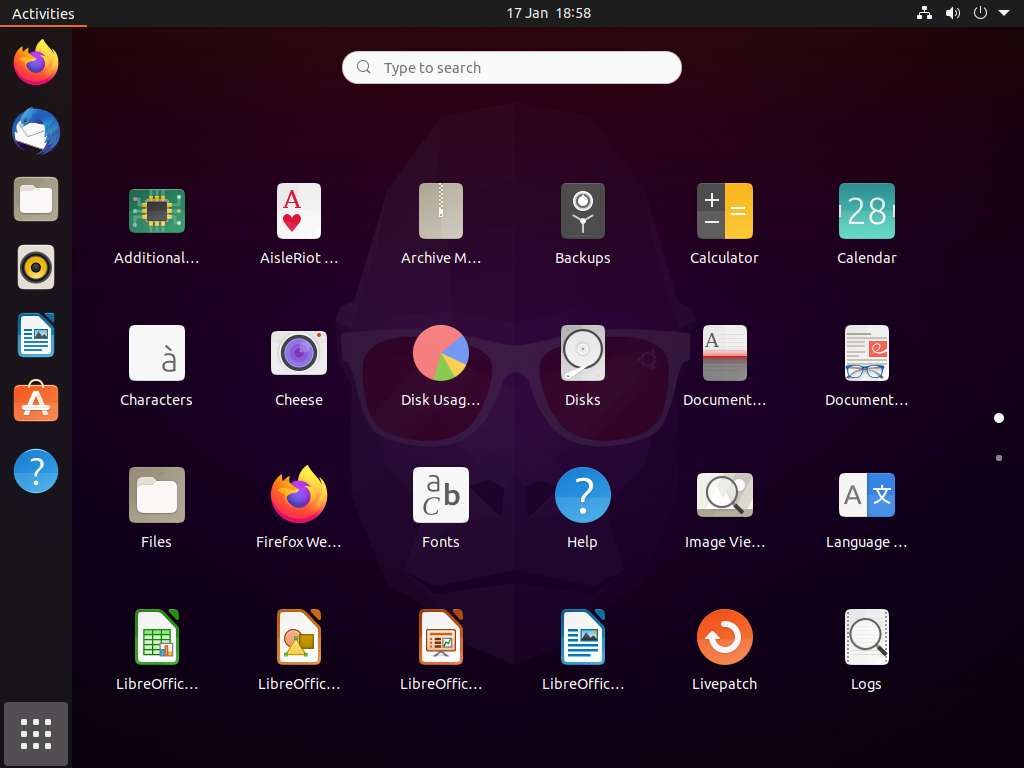
See the icon at the bottom-left of your screen? That’s the Show Applications button. You can click on this to show a full list of the apps installed on your PC. Go ahead and give it a try, you’ll find a bit of everything has already been installed for you from games to word processors and everything between.
You can move through the pages of the applications on this screen by scrolling, or using the dots on the right-hand side of the icon grid.
Note: If you have a lot of apps opened at once, try clicking on the Activities button in the top-left of the screen. This will give you a handy visual overview of each of your windows.
What Are All These Apps Anyway?
Ubuntu comes with a generous selection of pre-installed apps. More apps are available from the Software Center app too, if you can’t quite find what you need.
It’s important to note that Ubuntu isn’t Windows so not all apps you’re familiar with will be available, though these days many popular apps are available for both Windows and Ubuntu, such as the web browser Firefox etc. In almost all instances where there’s an app you want to run that’s only available on Windows or macOS you’ll be pleasantly surprised by the quality of the alternatives that are on offer.
I’ll go through some of the basic apps here to give you a flavour of what’s available out of the box, go ahead and open up the other apps to have a poke around on those too of course!

Software Center
If you don’t find an app that can do what you need to do already installed, the Software Center is the next place to try. You can use this app to find other apps to install on your PC, it’s very straightforward and works a lot like the app store on your phone.

Firefox
Firefox is the web browser, you’ll find yourself using this a lot! You can use it to access websites online.

LibreOffice Writer
Writer can be used for all your word-processing needs. It’s a bit like Microsoft Word and even works with Microsoft Word formatted documents if you need to open and edit those too. LibreOffice is completely free though, always a good bonus feature!
LibreOffice Calc
Calc is the spreadsheet application. Like how Writer is the alternative to Microsoft Word, Calc is the alternative to Excel. I’d say “enjoy using it!” but it is spreadsheets, after all.

Settings
This is the central hub for altering settings for the day-to-day operation of your PC. This might be network settings, mouse settings, display settings, adding and editing users etc. It’s well worth exploring the settings to see what’s available to be altered.

Help
The Help app is handy, particularly for beginners if you’re struggling a bit to get to grips with where to find things. It’s always there within easy reach should you need it, but of course you can always do a quick search online if you need help too (or contact me!)
All done? You’ll Want to Shut Down
For new users, finding the power button isn’t always obvious so just in-case you can’t find it, it’s in the system menu (the icons in the top-right of the screen). Click on it and you’ll find “Power Off/Log Out”.
